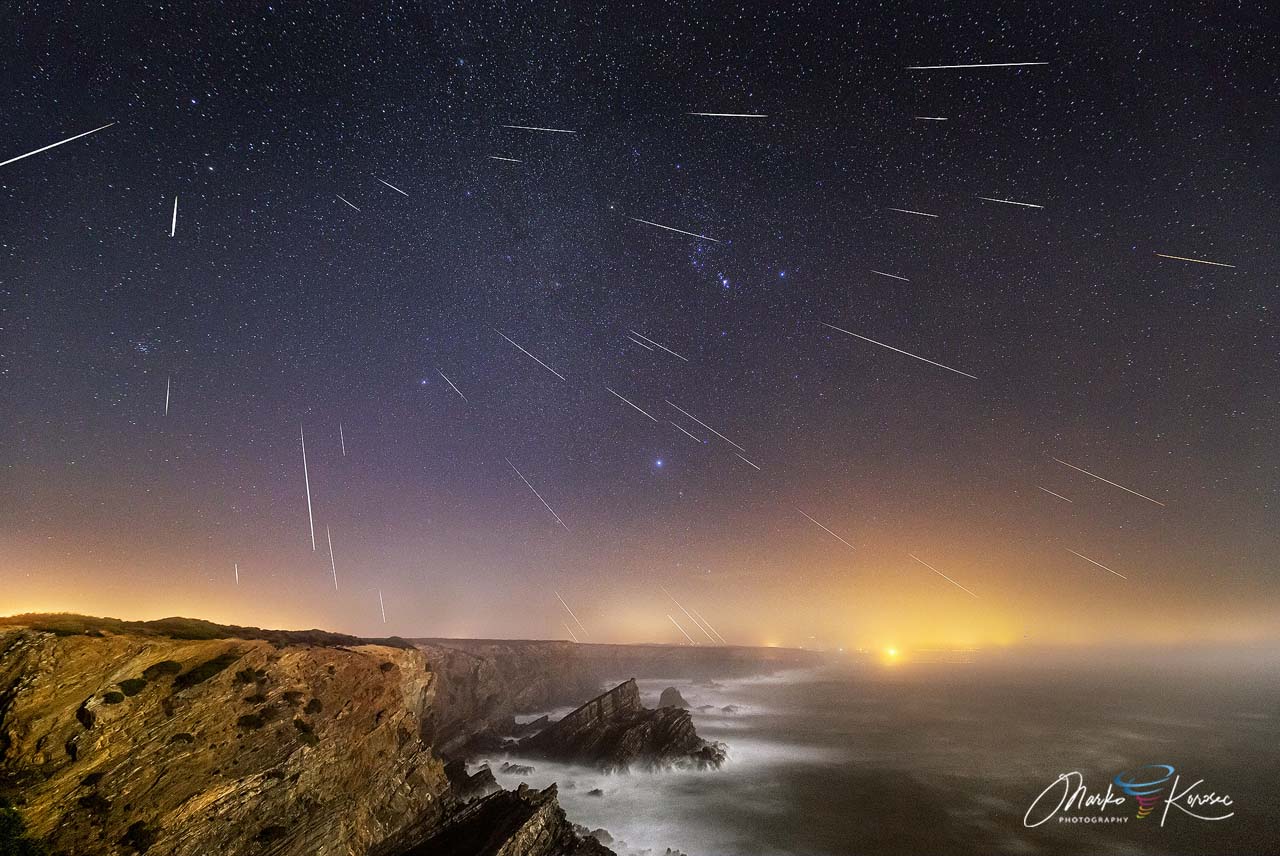
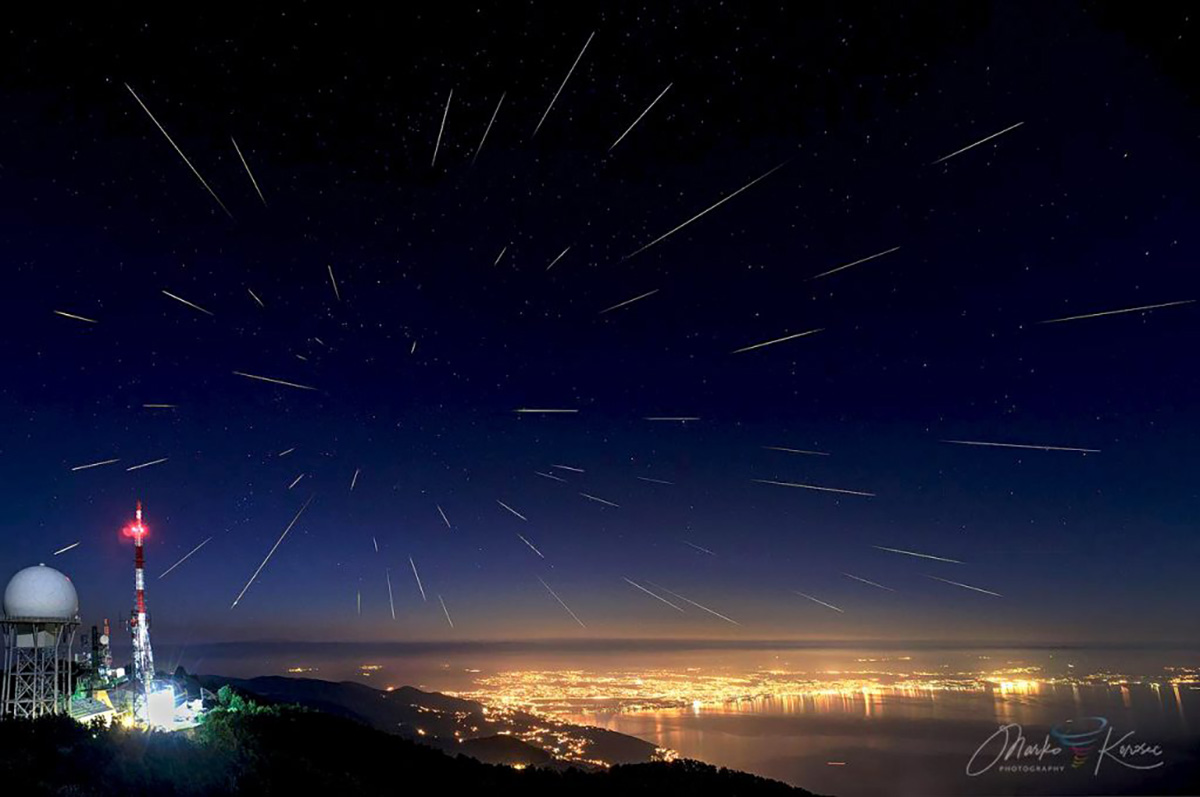
It is always great to see spectacular meteors that photographers catch with their cameras. Are you tempted to try it yourself? Meteor shower photography is loads of fun; you can catch a big, bright one with some luck! Here is how you do it.
No matter which meteor showers you observe, it is always fun. And with some luck, you can catch a big, bright meteor – a fireball! Here is how you can get that shot, too.
What equipment do we need?
We need a camera, lens, tripod, and some luck. However, when it comes to meteor photography, more specific equipment is necessary to get the best results out of your photography attempts.
- A digital camera with the option of making long exposures. Any interchangeable lens camera (DSLR or mirrorless) will have this option, including compact cameras, and some phone cameras nowadays can also take long exposures.
- A tripod. The stronger, the better. Especially if you plan to photograph in higher elevations, where winds could be stronger,
- A remote trigger for the camera (or timer) helps you photograph continuously and without shaking the camera when pressing the shutter button.
- And indeed… a meteor shower. Preferably the highest activity possible, so during the peak nights
How to photograph – camera settings
The best time to photograph meteors is during a maximum (known as the shower’s peak) of significant events, such as the Perseids, Geminids, or Quadrantids. Moderately strong meteor showers, such as the Lyrids, Southern Delta Aquarids, Orionids, Taurids, Leonids, and Ursids, could also be quite a show.
Avoid using Auto and preset scene modes when photographing meteors or a night sky. You need to be in control of the camera.
Set the camera mode to long exposure. The method may vary depending on your camera brand, but it is usually simple. One of the modes is M—Manual. Some cameras may also have B—bulb mode, which allows you to use a remote trigger for any exposure length.
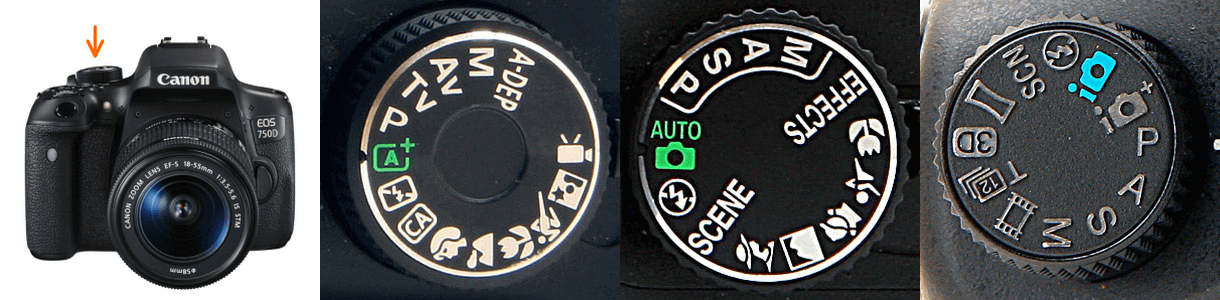
Another useful camera mode is the shutter priority mode (Tv or S). In this mode, you can select the exposure time for your photo, and the camera will do the rest.
All interchangeable lens cameras have these photography modes, so you will be fine regardless of the brand—Canon, Nikon, Pentax, Sony, or others.
How to photograph – choosing the right lens
Virtually any wide-field or standard lens will do its job, and so will any mid-range zooms. Most entry and up-to-prosumer crop sensor (DX or APS-C) cameras have a mid-range kit zoom lens, usually between 16 and 18 mm at the wide end and f/2.8 to f/3.5. These are fine for meteor photography.
The standard 50 mm lens is fine, too, and many of them have the aperture pretty wide open, usually f/1.2 to f/1.8. This lens can gather more light to capture fainter meteors than mid-range zooms. Indeed, the downside of these lenses is the small field of view, particularly on crop sensor cameras.
50 mm will not be too bad, but do not use longer focal lengths as the field of view becomes too small. In other words, you are photographing a very narrow sky and will miss many meteors.
The best lenses for meteors are the recently released wide-field lenses with a maximum aperture of f/1.4 to f/2.0, available from several brands (Samyang, Rokinon, and, especially, the Sigma Art lens).
Use a high ISO setting to capture meteors; 1600 or higher will be good enough. How far up the ISO scale you want to go depends mainly on your tolerance for noise and, indeed, the camera model. The recent cameras from various brands all have pretty good ISO performance, as sensors have improved significantly over the years.
The next step is to focus on the lens. The easiest way to do it is to set it to manual focus and focus it on a distant light source or a bright star. Using the live view (with maximum magnification) makes the job much easier to focus on.
Once you have the lens focus set, please keep the camera in manual focus mode to avoid refocusing. Always switch off the image stabilization (IS). Set the aperture to the lowest possible (fully open) and set the ISO.
You are ready to go. Be aware that you will take hundreds of photos before catching the first good meteor. Patience is the key to meteor photography. The more persistent you are, the more likely you will be able to see a bright meteor!
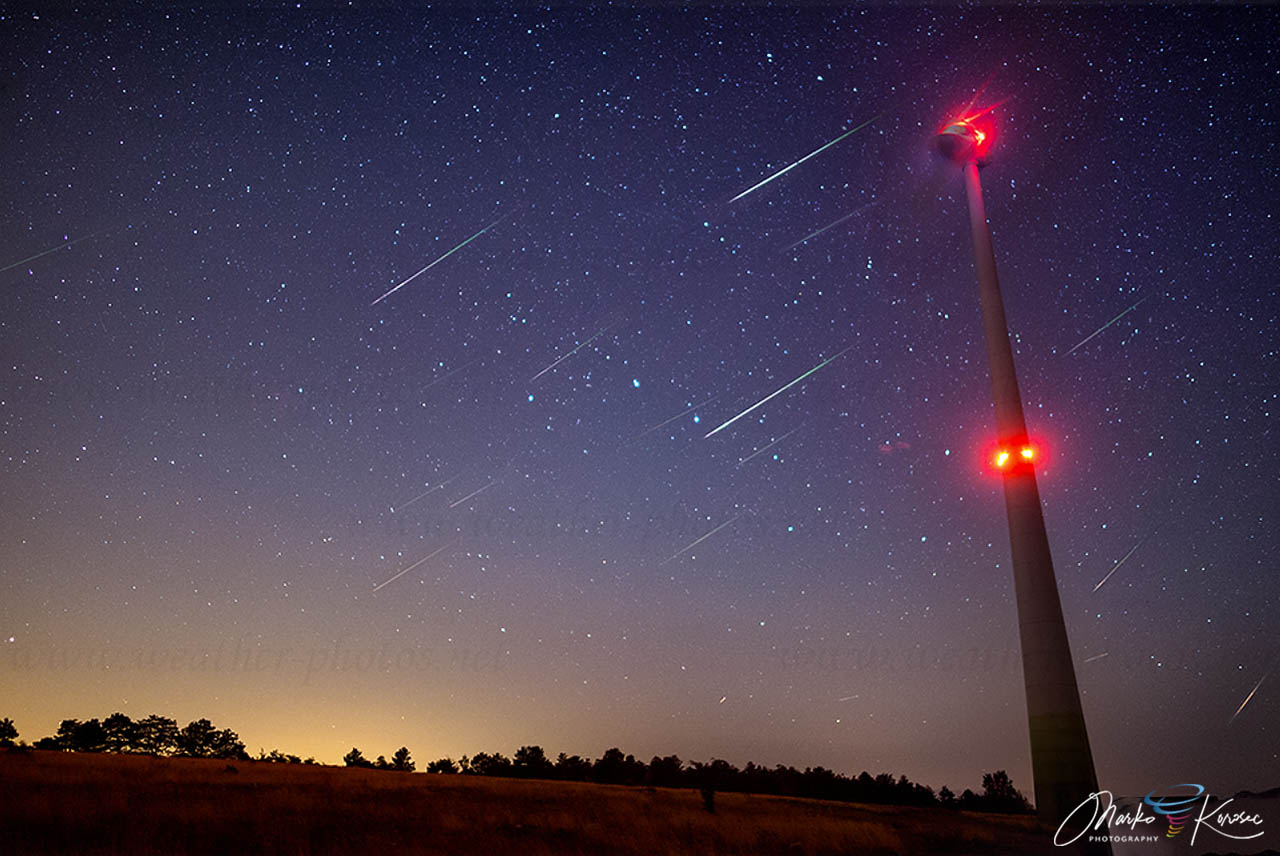
Irregular brightness flares can punctuate brighter meteors.
Some additional photography tips
These settings above are the basic ones that can help you get into this fascinating field of photography. Let’s see more tips on being even more successful and getting the best results.
Don’t get the background (sky) too bright; you want a good contrast between the sky and the meteors. Typically, keep an eye on a histogram with a peak of around 1/8 to 1/6 full (left to right), which is considered optimal. This will depend on your lens, the ISO setting, and how dark your sky is. Fast lenses and high ISO settings will get your background bright faster. A bright, light-polluted sky will also get the background brighter faster. An f/2.8 lens at ISO 3200 under a good rural sky will take about 20-30 seconds.
Fully open lenses, such as the f/1.2 to f/1.8 lens, will produce the best results under dark skies. Brighter, light-polluted skies will saturate the background quickly, and meteors will have less contrast.
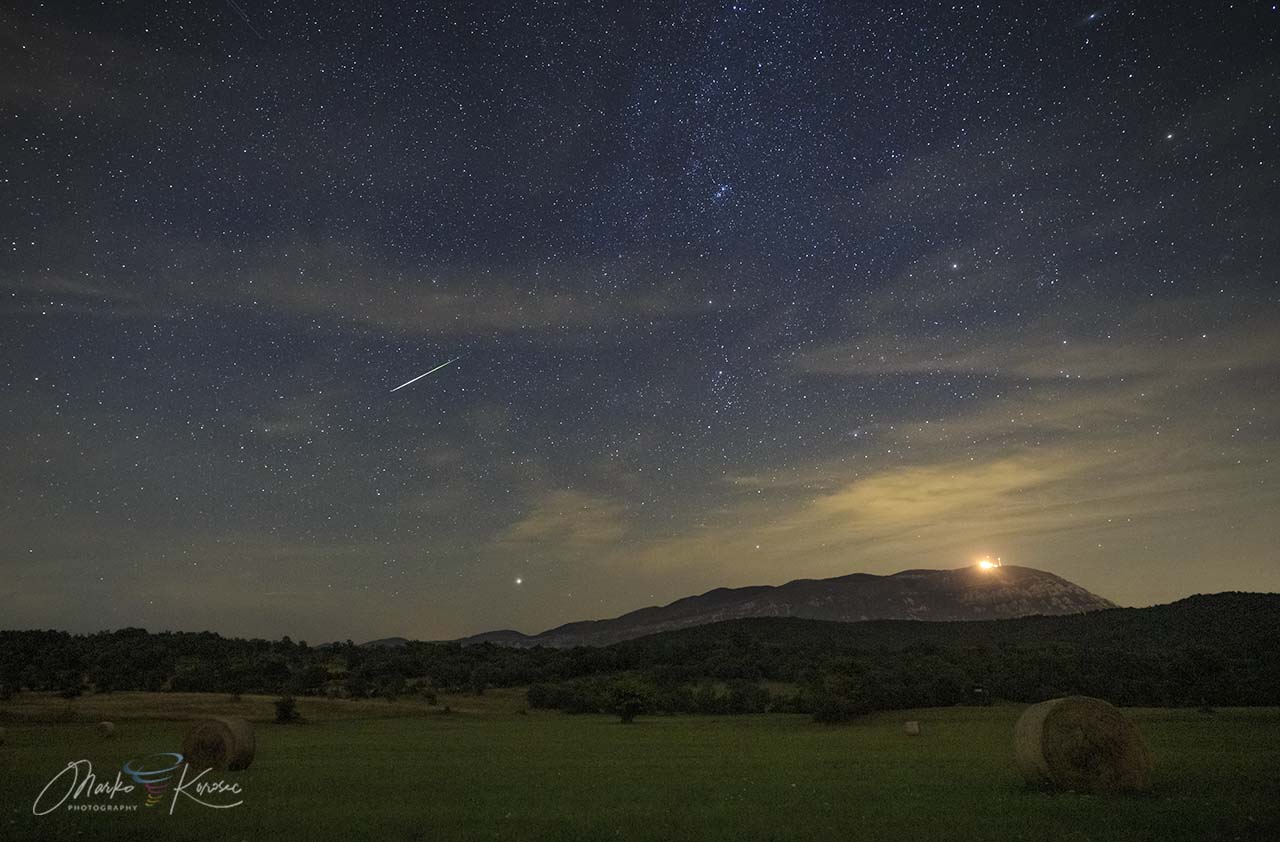
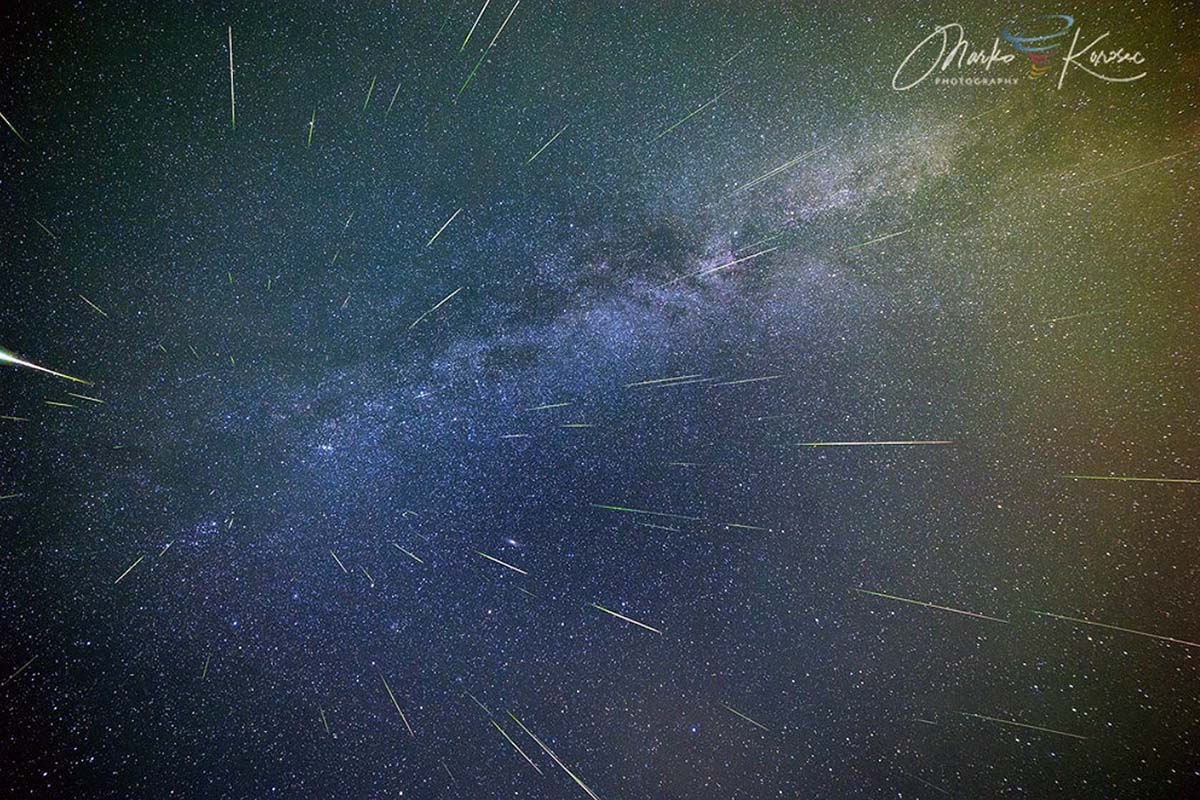
Keep your horizon in the photo, as many bright meteors appear close to the horizon. This is because you are looking through a larger volume of the atmosphere close to the horizon than overhead. If you use a 50 mm or another longer focal length, fast prime lens, keep your field close to the radiant. Otherwise, meteors will be too long to fit into your field of view.
Turn off your High ISO noise reduction. You can do noise reduction in post-processing.
Turn off your Long exposure noise reduction. In this setting, the camera exposes every photo you take darkly. You will only photograph the sky 50% of the time, missing half the meteors. Few things are as frustrating as missing a superb meteor while your camera is making a dark exposure.
Keep your white balance on AUTO, as it typically works best. You may want to change to a warmer setting (some photographers prefer 3700 K) under highly light-polluted skies, if there is variable cloud cover and the clouds are illuminated by light pollution, or if your camera has trouble keeping the white balance constant. After post-processing, you can correct the white balance by photographing it in RAW format.
Use Live View to point the camera at a bright star or distant lights to focus your lens. Make sure your focus is dead on. Keep your camera and lens in manual focus mode. Otherwise, it will try to refocus once you start your exposures, and your photos will be out of focus.
Bring backup batteries and spare memory cards—all of them. You don’t want to run out of batteries or space during peak activity.
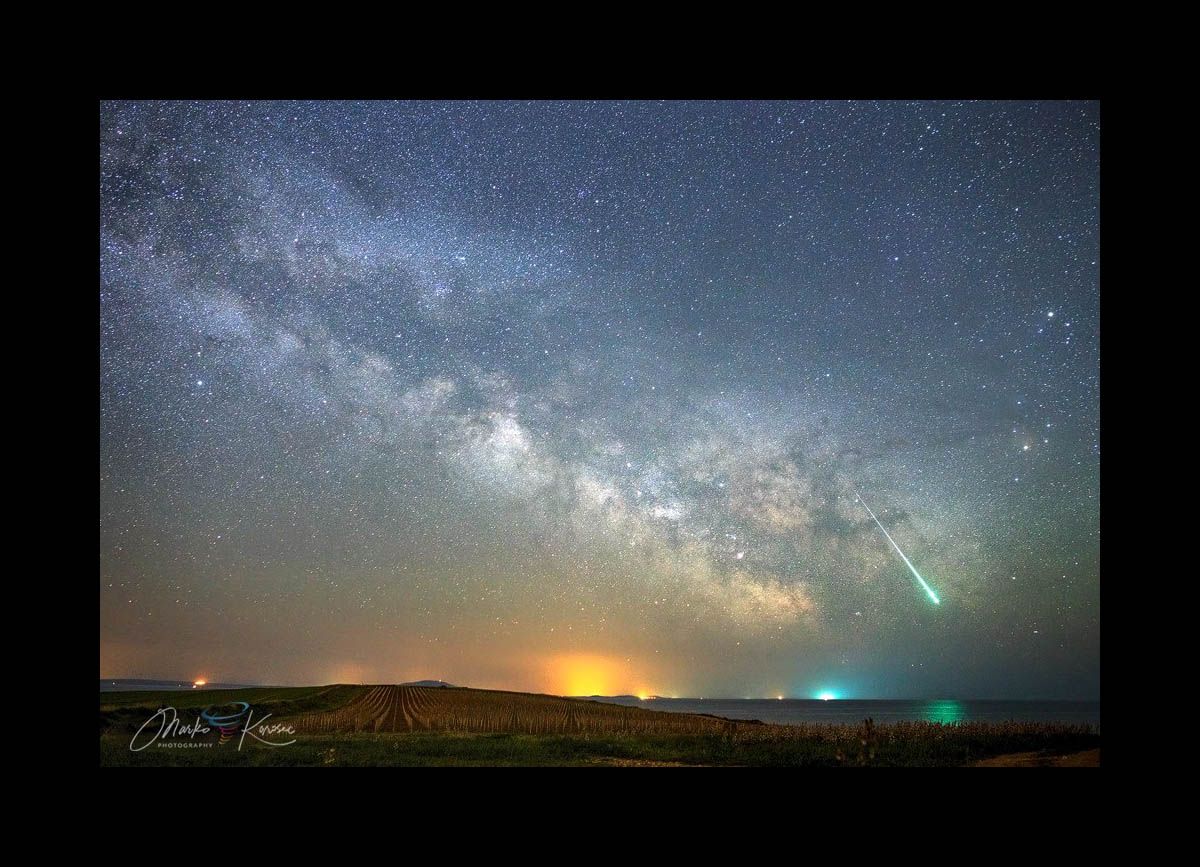
Cameras do not see meteors, and neither do your eyes. A reasonably bright meteor, as bright as the brightest stars, will register on your photo as a faint streak of light. You will need a bright one to produce a beautiful image. Only if you use fast lenses and high ISO settings will even moderately bright meteors look significant. But do not be discouraged; you will get a great photo with some luck and perseverance!
How to photograph the meteor shower with your phone
Although smartphone cameras are far from as strong as traditional ones, they have improved significantly in recent years. The newer smartphone camera models get better every year, and with just a few photography tricks and some software add-ons, our smartphone can also produce high-quality images.
Here are a couple of tips on how to photograph meteors or a night sky in general, including the Milky Way, with your smartphone:
- Use a tripod: A tripod will ensure your phone is steady and does not move or shake. Keep in mind that even the slightest movement can mess with long-exposure images. This means you wouldn’t get clear pictures even if you captured a meteor in the frame.
- Use the fastest aperture lens possible: To get the best night sky shots, a smartphone must gather as much light as possible. The latest smartphones have multiple camera lenses, so we have to choose the one with the broadest aperture, which should make stars and meteors brighter in the photos. If your smartphone offers a night mode, enable that as well.
- Download a long-exposure app: Long exposure mode allows your smartphone camera to take multiple shots over time. This is essential for capturing the fleeting nature of meteors since they are sporadic events. Some free mobile apps exist, such as Easy Long Exposure Camera (iPhone) and Long Exposure Camera 2 (Android). Additionally, there are high-quality paid apps, e.g., Slow Shutter Cam (iPhone) or Night Camera (Android).
- Turn off HDR: The abbreviation HDR stands for High Dynamic Range. When you turn on this setting, the camera can combine multiple shots to include more light than is visible to the lens in one shot. This usually is good for shooting the sky, but slows your camera’s capture speed. This increases the risk that you will miss meteors when they are visible in the sky, so you are advised to turn this option off.
- Don’t use zoom: If you’re using digital zoom, zooming will lower the quality of the image, as even cameras with optical zoom lenses tend to have much less ability to gather light thanks to a more closed aperture. So, the standard focal length available with your smartphone’s fastest aperture lens is best.
What to expect
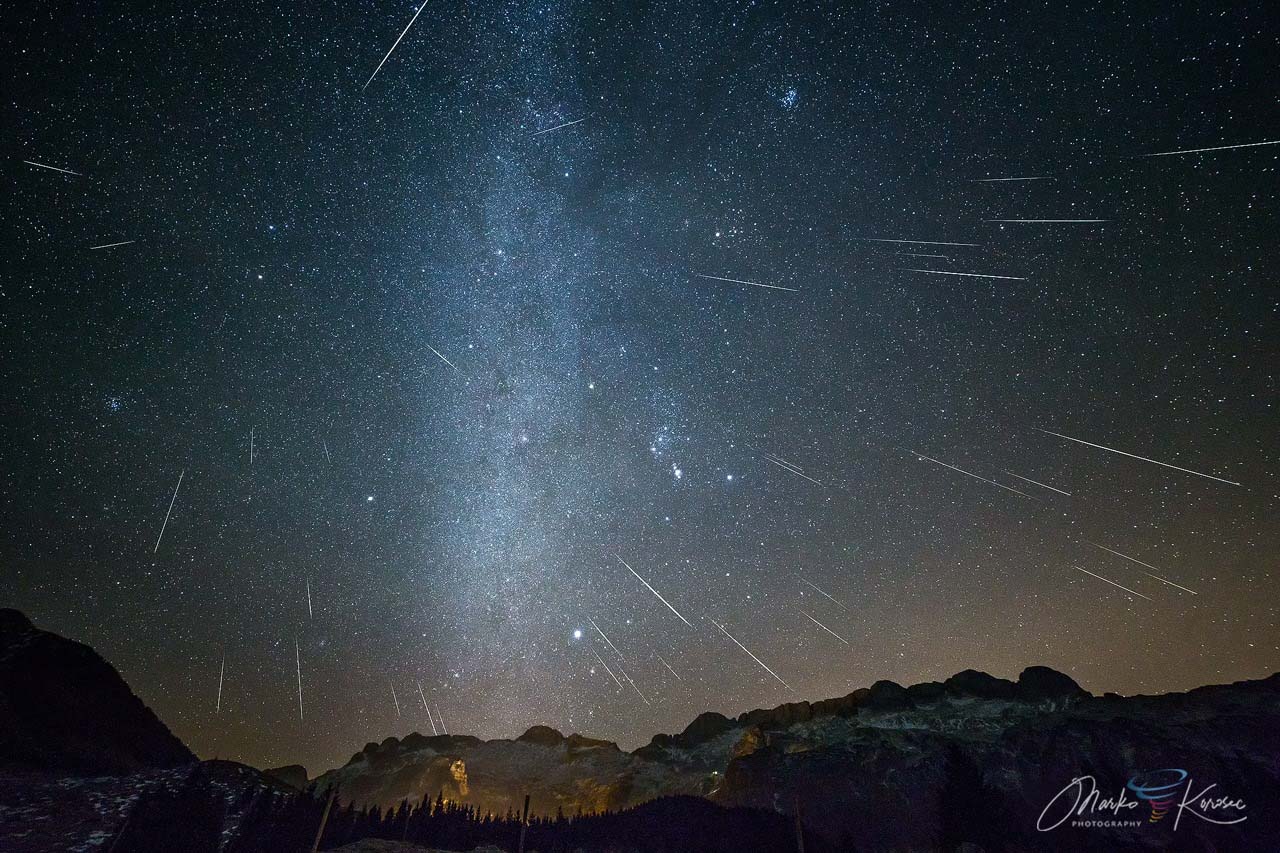
What can you expect as you are ready to enter the field? First, be prepared to take many photos before a good catch of a meteor appears. Be prepared to spend at least an hour or two under the starry sky to catch a good one, even in the strongest of meteor showers, like the summer’s Perseid meteor shower or the Geminids in winter.
Moderate meteor showers like the Lyrids or the Orionids take even more time, as their hourly rate is lower than most famous meteor showers. But patience does pay off. The more time you spend photographing meteors, the better the chances you will finally catch a good one, even a fireball.
See also:
How to photograph lightning – Lightning photography 101